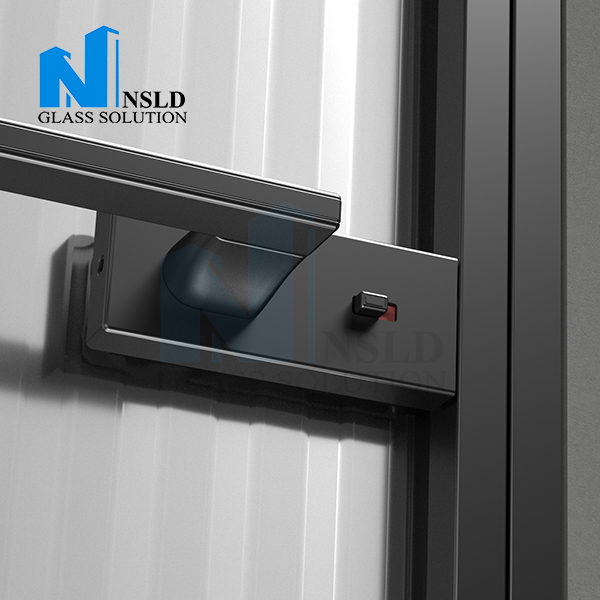
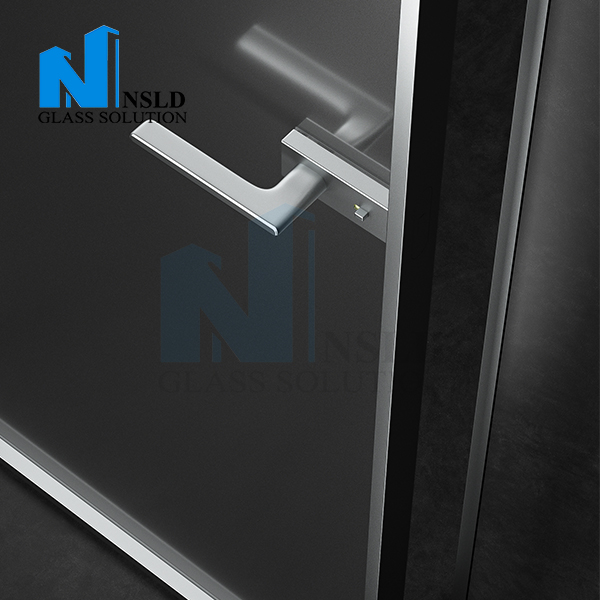
# Installation Methods and Precautions for Interlocking Door Locks With the increasing popularity of smart home and security systems, interlocking door locks have become a new choice for many households and commercial venues due to their convenience and security. Whether achieving coordinated control of multiple doors or linking with smart home systems, the installation process is crucial. The following details the installation methods and key precautions for interlocking door locks. ## I. Pre-installation Preparations ### (1) Confirm Door Type and Compatibility Before installing an interlocking door lock, accurately identify the type of door, such as wooden doors, anti-theft doors, metal doors, etc. Different materials and structures have varying compatibility requirements with interlocking locks. For example, wooden doors are relatively thin and soft, requiring higher fixing standards for the lock; anti-theft doors are usually thicker and need to match corresponding lock body specifications. Additionally, measure the thickness, width of the door, and the size of the door frame to ensure the selected interlocking lock is fully compatible with the door. Generally, most interlocking locks can be normally installed on doors with a thickness between 35mm and 55mm. If outside this range, special customization or a specially adapted model is required. ### (2) Check Completeness of Accessories Carefully inspect all accessories in the interlocking lock package, typically including the lock body, lock cylinder, handle, screws, instruction manual, installation template, etc. Verify whether the quantity of accessories is complete and whether there is any damage or missing parts. The absence of any small accessory may affect the installation process and the normal use of the lock. If accessory issues are found, promptly contact the merchant for replacement or reissue. ### (3) Prepare Installation Tools Tools required for installing interlocking door locks mainly include screwdrivers, wrenches, electric drills, tape measures, pencils, etc. Screwdrivers are used to remove and install screws, wrenches assist in tightening nuts, electric drills are used to drill holes in the door (if needed), and tape measures and pencils are used to measure and mark installation positions. Ensure tools are in good condition and functional to avoid installation interruptions due to tool issues. ## II. Installation Steps ### (1) Remove the Old Lock Use a screwdriver to unscrew the screws on the old lock, generally fixed with screws on both the inside and outside of the door. Carefully remove components such as the old lock body, lock cylinder, and handle, and pay attention to preserving small parts like screws and washers for subsequent cleaning and disposal. During removal, avoid damaging the paint or decorative layer on the door surface. ### (2) Determine Installation Position Attach the installation template to the corresponding position on the door, and use a tape measure and pencil to accurately mark the drilling and screw-fixing positions on the door according to the template. The installation template usually specifies the mounting holes for the lock body, lock cylinder, and handle in detail, and ensuring the accuracy of these marks is key to successful installation. For doors with special structures, fine-tuning of the installation position may be required based on actual conditions, but it must meet the lock's installation requirements. ### (3) Drill Holes Drill holes in the door according to the marked positions using an electric drill. Control the drill's force and depth to avoid damaging the door structure by making holes too large or deep. Generally, the hole depth should be slightly greater than the screw length to ensure the screws can firmly fix the lock body. Additionally, pay attention to maintaining the perpendicularity of the holes to allow screws to be inserted smoothly. ### (4) Install the Lock Body Insert the lock body into the door through the drilled holes, ensuring the lock tongue hole aligns with the lock catch position on the door frame. Insert screws from both sides of the door and use a screwdriver to tighten them sequentially to fix the lock body. When tightening screws, follow the diagonal tightening principle: first tighten the screws on the diagonal, then the others, to ensure uniform force on the lock body and prevent tilting or loosening. ### (5) Install the Lock Cylinder and Handle Insert the lock cylinder into the corresponding hole of the lock body and tighten the fixing screws with a screwdriver. Then install the inner and outer handles, ensuring they can rotate flexibly and are firmly connected to the lock body. During installation, pay attention to the correct direction and position of the handles to avoid inconvenience in use after installation. ### (6) Debugging and Testing After installation, conduct comprehensive debugging and testing. Insert the key to check if the lock cylinder rotates smoothly and if the lock tongue extends and retracts normally. Test the interlocking function (if applicable) to ensure coordinated control of multiple doors and accurate linkage with the smart home system. Additionally, inspect the lock's anti-theft performance, such as the extension length of the lock tongue and the firmness of the lock body. If any issues are found, adjust and repair them promptly. ## III. Precautions ### (1) Safe Operation When using electric drills and other tools to drill holes, always wear protective glasses to prevent debris from splashing into the eyes. Maintain steady hand movements during operation to avoid accidental injuries caused by tool失控 (loss of control). Ensure power sockets and equipment wires are free from damage or electrical leakage, and do not use power tools in wet environments to guarantee personal safety. ### (2) Protect the Door Take measures to protect the door surface from scratches or damage during installation. Apply protective film or cover with soft cloth on the door surface, especially when removing old locks and installing new ones, to avoid direct contact between tools and the door. For high-end or special material doors, exercise extra caution to prevent irreversible damage. ### (3) Follow Installation Specifications Strictly follow the interlocking lock’s instruction manual and installation template; do not arbitrarily change installation positions or omit steps. Every installation detail affects the lock’s performance and safety. Non-standard installation may lead to malfunction or security risks. If unsure about any step, contact the manufacturer or professional installers for consultation. ### (4) Networking and Settings For interlocking locks with networking functions, ensure a stable and secure network environment during setup. Choose a reliable wireless network, set complex passwords, and prevent unauthorized access to the lock. Regularly update the lock’s system firmware to fix potential security vulnerabilities and enhance safety and stability. ### (5) Post-installation Maintenance After installation, regularly maintain and service the interlocking lock. Periodically check for loose screws and lubricate the lock tongue and cylinder as needed. Use special lubricants to keep them operating smoothly. Meanwhile, clean dust and stains from the lock surface to prevent debris from affecting its function. The above comprehensively introduces the installation and precautions for interlocking door locks. If you encounter special circumstances during installation or want to know details about specific brand locks, feel free to share them with me at any time.

